AWS: 第5章SSH接続
1. インスタンスに接続
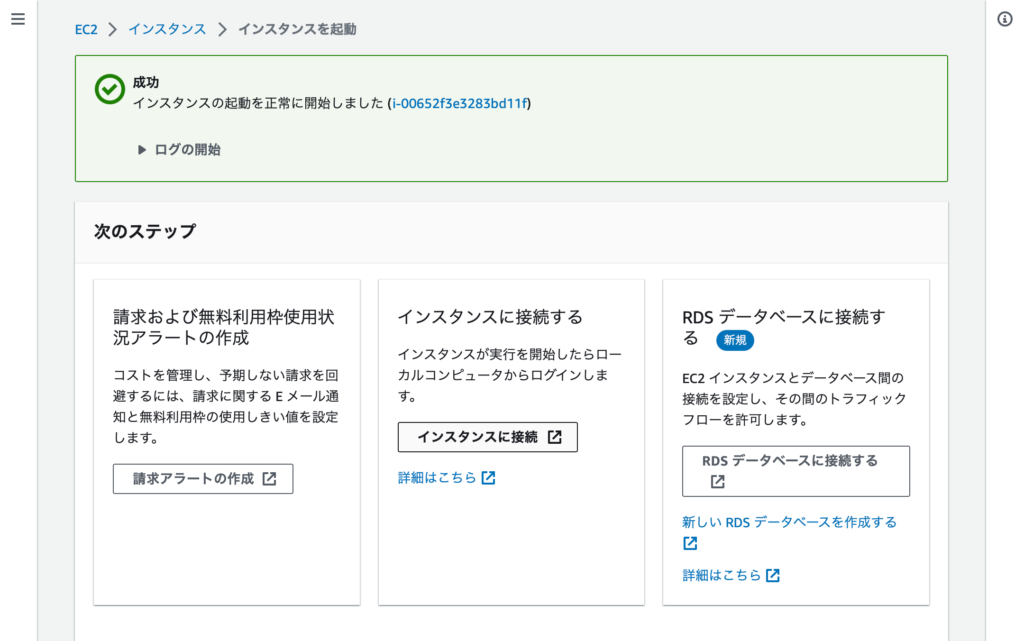
インスタンスを起動したあと、接続ができるか確認します。
下記の中央「インスタンスに接続」をクリックします。
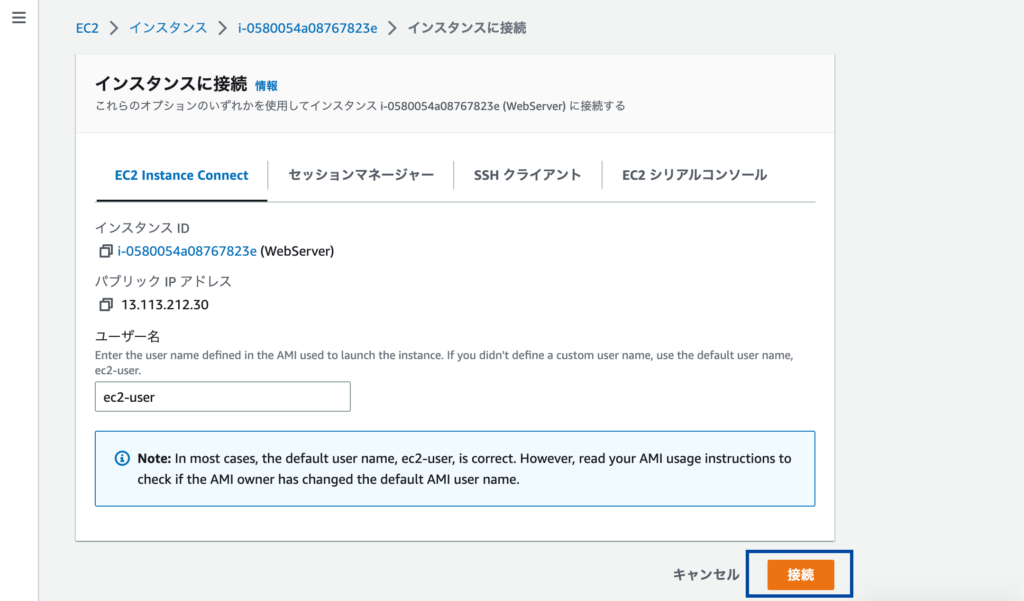
インスタンスに接続画面が出ますので、「接続」をクリックします。
無事にログインができた場合は、下記の画面が表示されます。

下記のような「Failed to connect to your instance」エラーが表示された場合は、インスタンスを起動を使ってインスタンスを作成する途中で間違った設定をしている可能性が高いです。

ネットワーク設定のサブネットの選択で、CIDRに「10.0.128.0/20」を選んでいないでしょうか。正しくはCIDRを「10.0.0.0/20」となります。
または、下記のエラーが出ている場合も同様です。

ネットワーク設定のパブリックIPの自動割り当てが、無効化のままではないでしょうか。有効化にしてください。
設定しなおせばアクセス可能になりますが、ここでは省略しますので再度インスタンスを作り直す方が早いかもしれません。
2.SSH接続を行う
第3章でキーペアを作成してダウンロードしたファイルを.sshディレクトリに移動しています。こちらのキーを使ってSSH接続を行います。
私の環境はMacですので、ターミナルを立ち上げて接続を行なっていきます。
# sshで接続を試みます
% ssh -i "~/.ssh/WebServer.pem" ec2-user@13.113.212.30
接続が成功すると下記のような画面が出てきます。
Last login: Fri Feb  3 07:11:02 2023 from ec2-3-112-23-4.ap-northeast-1.compute.amazonaws.com

       __|  __|_  )
       _|  (     /   Amazon Linux 2 AMI
      ___|\___|___|

https://aws.amazon.com/amazon-linux-2/
14 package(s) needed for security, out of 14 available
Run "sudo yum update" to apply all updates.
[ec2-user@ip-10-0-14-5 ~]$
いよいよ、Apacheのインストールにいきましょう。